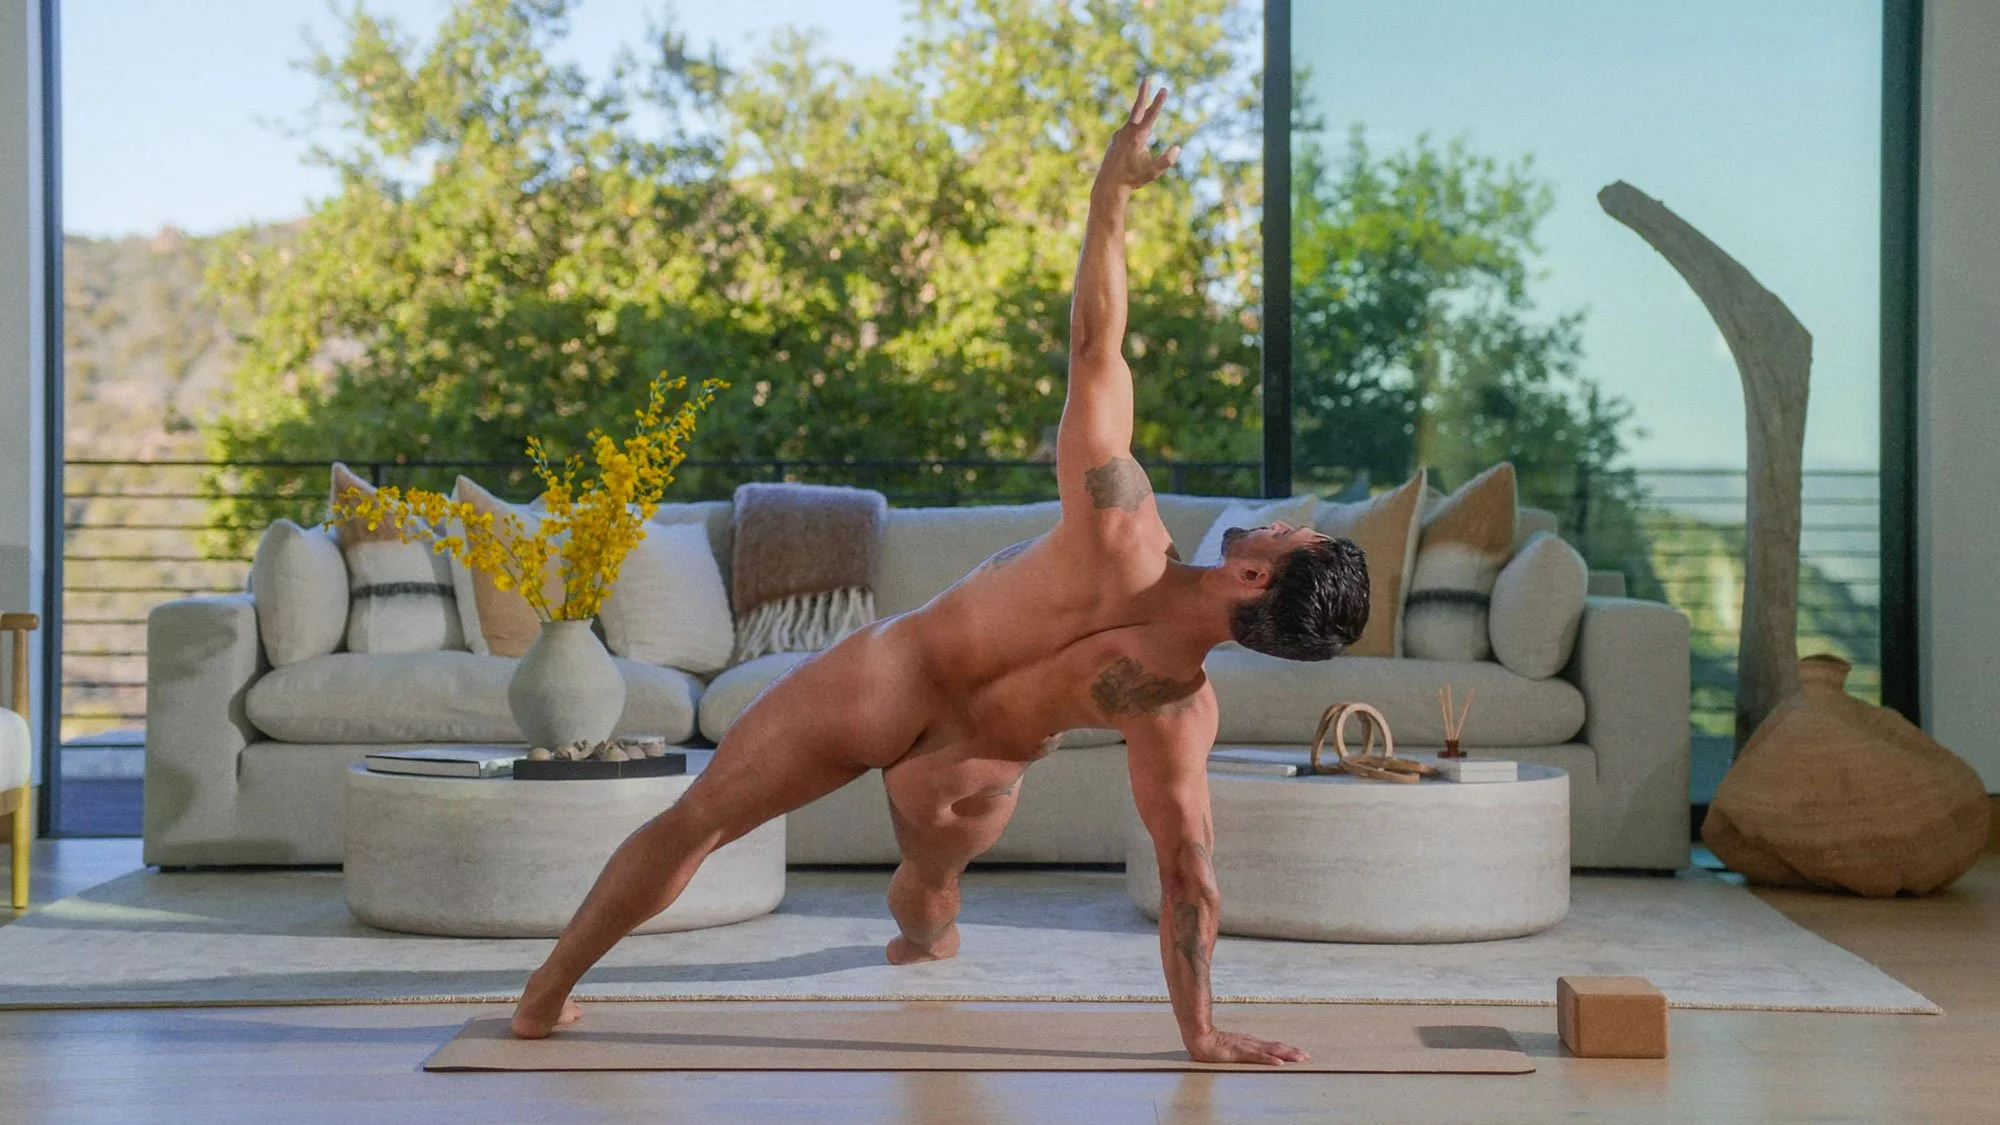
Fallen Triangle Pose
Patita Tarasana
Teacher: James
Fallen Triangle Pose blends the grounded power of an arm balance with the expansive lift of a heart opener, inviting you to take up space with bold, uninhibited confidence. It fires up your core and shoulders while stretching your outer hips and side body, leaving you feeling energized, open, and completely liberated on the mat.
Common Name: Fallen Triangle Pose
Sanskrit Name: Patita Tarasana (pah-TEE-tah tah-RAH-suh-nuh)
Level: Intermediate
Pose Type: Arm Balance, Core Pose, Chest Opener, Spinal Twist, Hip Opener
Target Areas: Core, Shoulders, Arms, Chest, Spine, Hips, Wrists
Fallen Triangle Pose is a dynamic, invigorating posture that weaves together upper-body strength, core stability, and deep hip opening in a single sweeping shape. Despite the word “fallen” in its English name, there is nothing collapsed or passive about this asana. Instead, your body creates clean, radiant lines of energy from your grounded palm and extended heels all the way through your lifted fingertips, encouraging a fearless sense of openness, expansion, and radiant energy.
Its Sanskrit name, “Patita Tarasana,” actually translates to “fallen star pose,” which is why many teachers also call it Fallen Star Pose. Rather than referring to a stumble, the imagery celebrates a shooting star blazing across the sky with limbs stretched outward in every direction. Practicing this pose connects you to your center of gravity while inviting you to expand outward without hesitation, cultivating strength, grace, and self-trust.
Fallen Triangle Pose
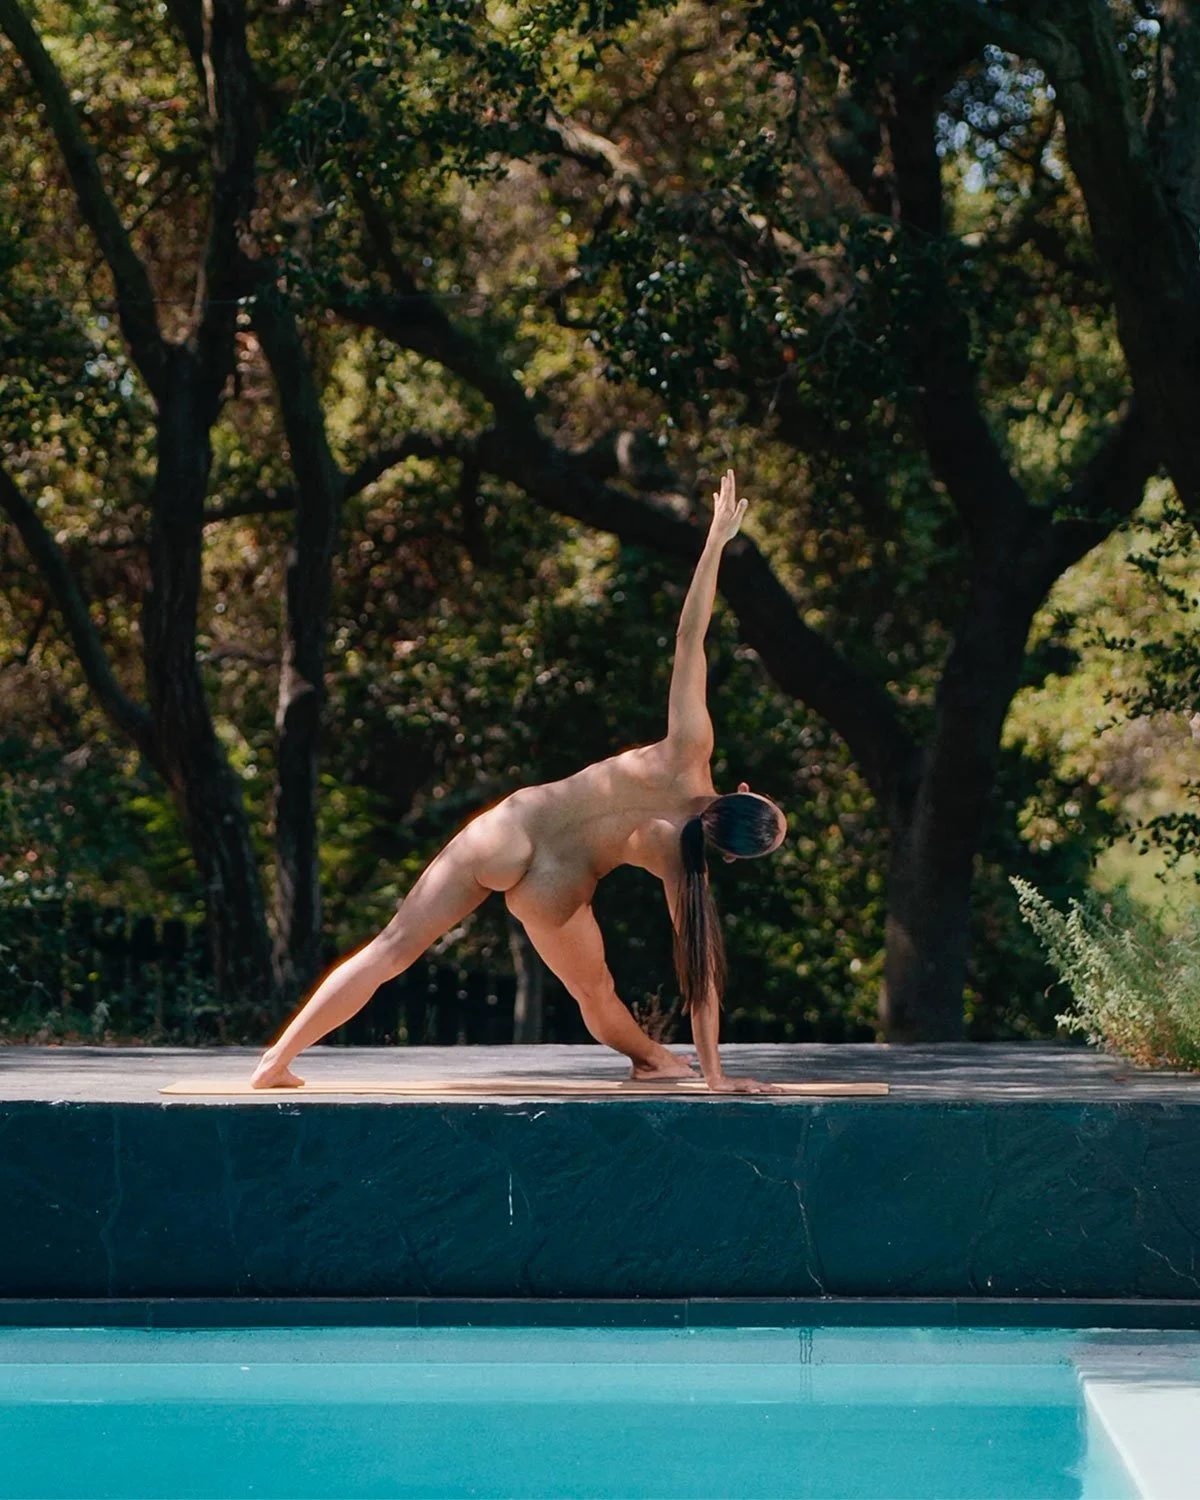
Teacher: May
Step 1
Begin in Downward Facing Dog (Adho Mukha Svanasana) with your hands shoulder-width apart, fingers spread wide, and feet hip-width apart.
STEP 2
Inhale and sweep your right leg up and back into Three-Legged Dog, keeping your hips square and your shoulders pressing evenly into the mat.
STEP 3
Exhale as you shift your shoulders forward over your wrists, draw your navel toward your spine, and bring your right knee toward your left elbow.
STEP 4
Extend your right leg straight out to the left side of your mat, resting the outer edge of your right foot on the floor in line with your hip.
STEP 5
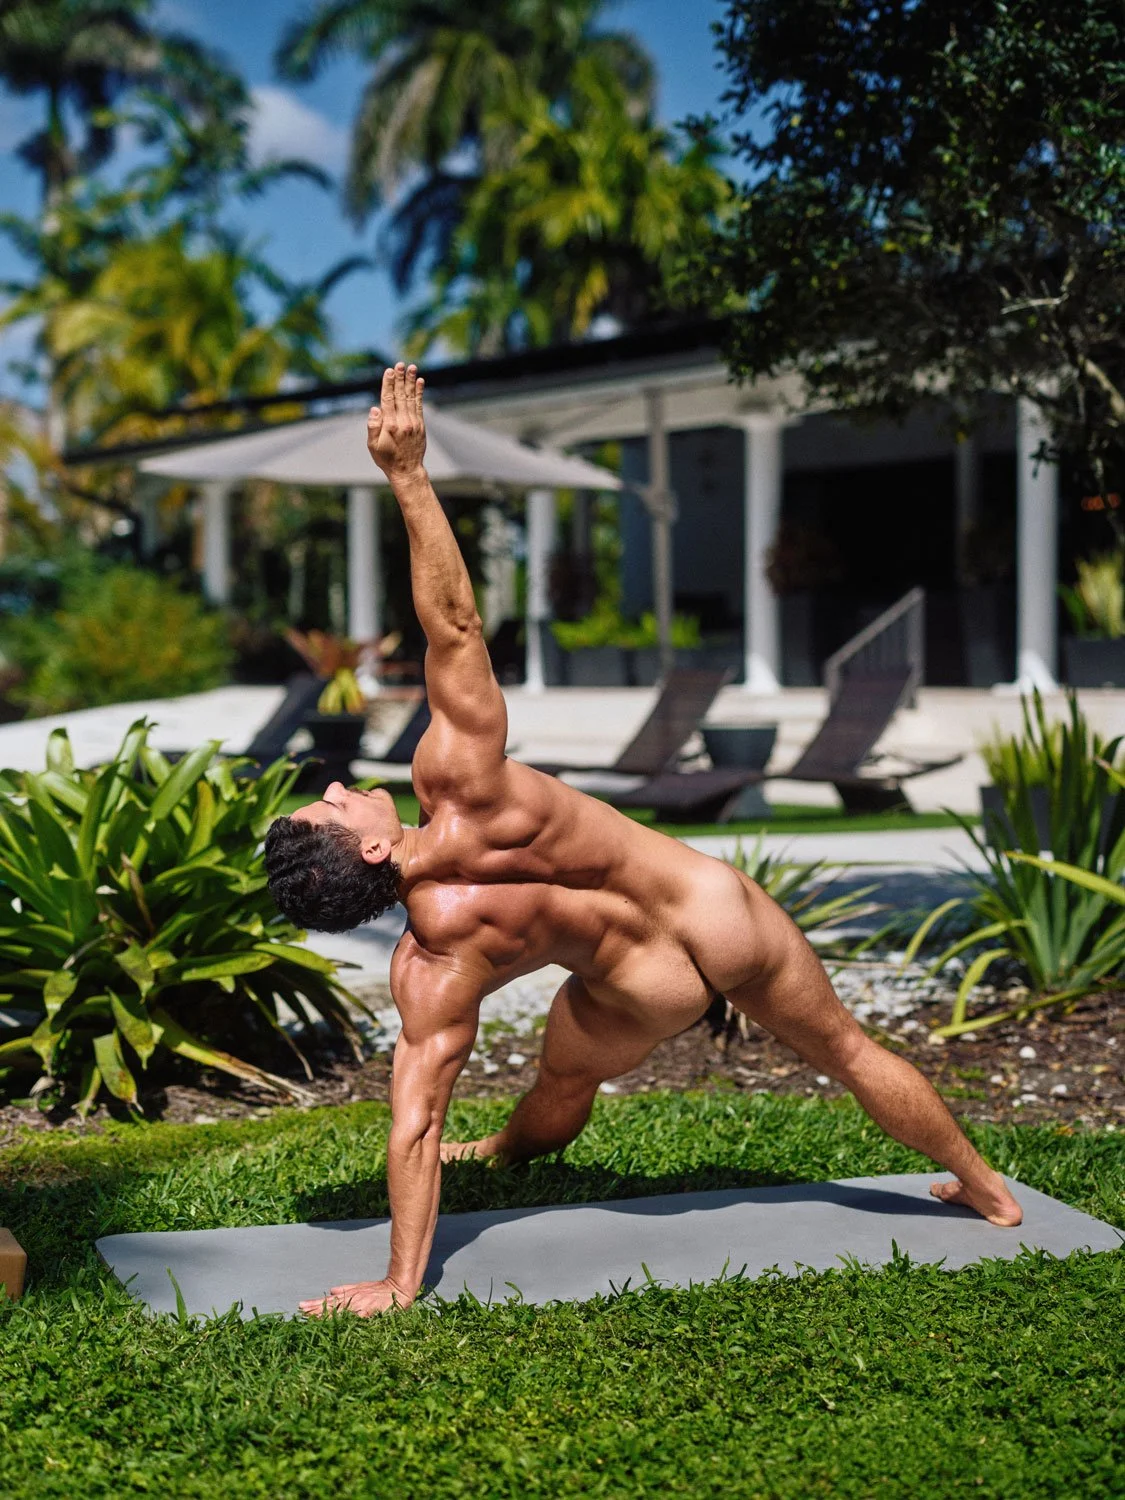
Teacher: Henner
Pivot your left heel down to the right so the inner edge of your back foot grounds firmly into the mat.
STEP 6
Shift your weight steadily into your right palm, inhale, and sweep your left arm straight up toward the ceiling, stacking your left shoulder over your right shoulder.
STEP 7
Press the floor away through your bottom hand to lift your hips high, broaden across your collarbones, and direct your gaze up toward your lifted fingertips.
STEP 8
Hold for three to five steady breaths, then exhale to lower your left hand back to the mat, step back into Downward Facing Dog, and repeat on the opposite side.
Modifications
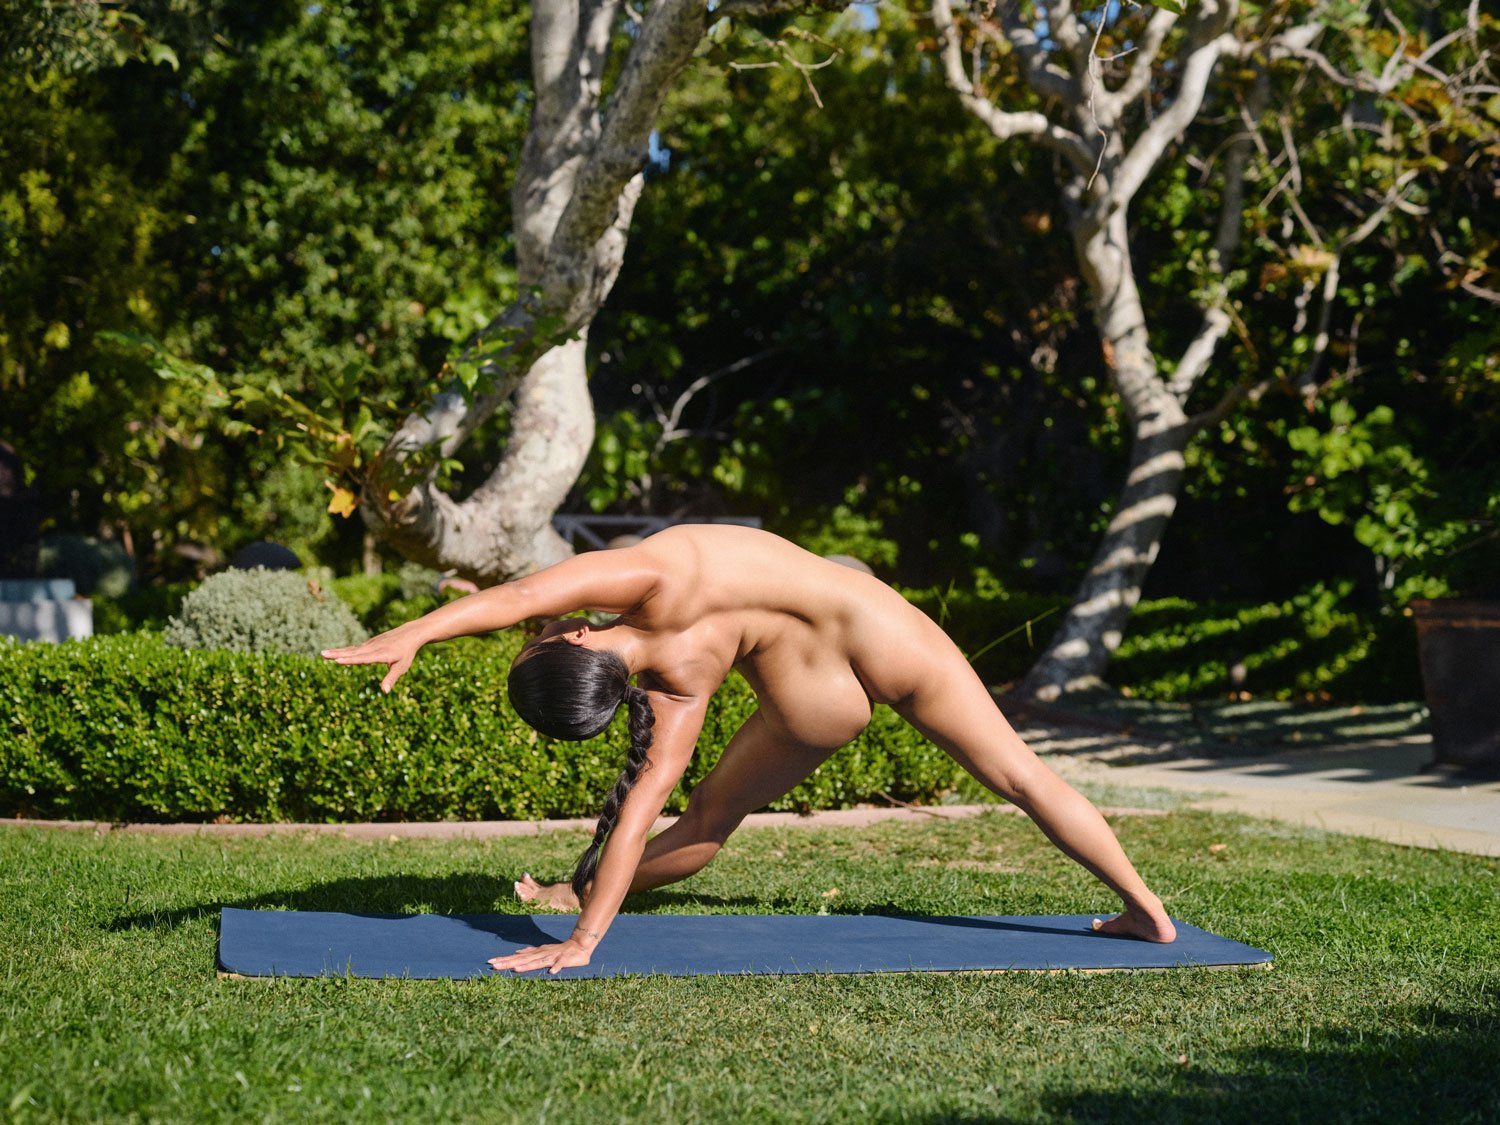
Forearm Support: Lower onto your bottom forearm instead of your palm to relieve wrist pressure while keeping your core engaged.
Bottom Knee Down: Bend your extended bottom leg and rest the outer shin on the mat for extra stability and a gentler hip stretch.
Hand on a Block: Place a yoga block beneath your supporting hand to create extra lift and space for your shoulders and chest.
Hovering Leg Lift: Lift your extended bottom foot a few inches off the floor to intensify core, hip flexor, and shoulder strength.
Overhead Reach: Extend your top arm forward over your ear with your palm facing down for a deeper side-body stretch.
Benefits
• Strengthens the shoulders, arms, wrists, and core.
• Stretches the outer hips, IT band, hamstrings, and side body.
• Opens the chest, collarbones, and front shoulders.
• Improves balance, full-body coordination, and spatial awareness.
• Builds confidence, stamina, and energizing heat.
Cautions
• Wrist, elbow, or shoulder injury.
• Lower back pain or spinal injury.
• Hip or hamstring strain.
• High blood pressure or dizziness.